How to Solve Common Heat Pump Issues Effectively
When dealing with common heat pump issues, you’ll want to check the thermostat settings to guarantee they’re correctly configured for your needs. Don’t overlook the power supply and connections; faults here can cause significant disruptions. Keeping air filters clean also plays an essential role in maintaining efficiency. While these steps are necessary, they’re just the beginning. What about the more complex problems like refrigerant levels or unusual noises? These challenges require a deeper understanding and targeted solutions. Ready to explore how you can tackle these effectively and keep your heat pump running smoothly?
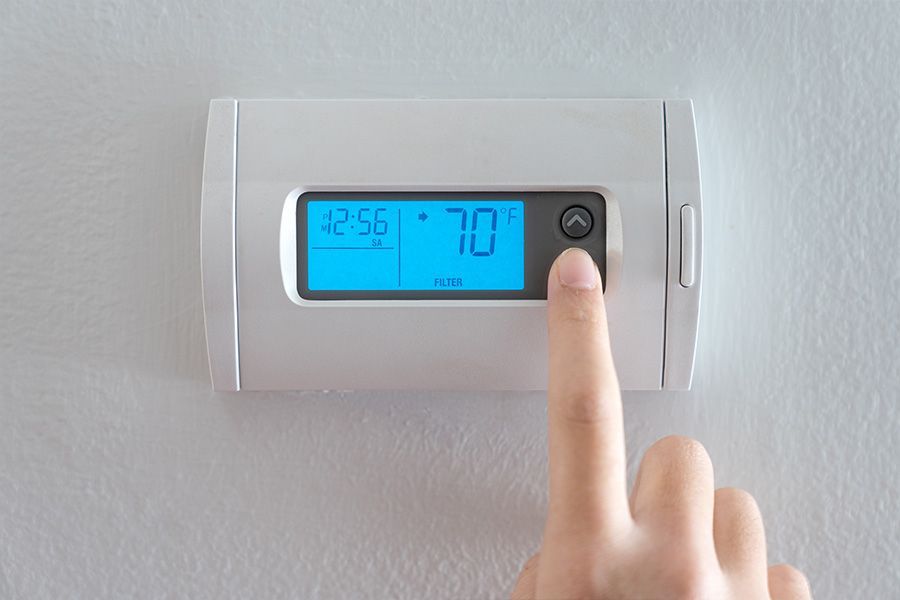
Inspect the Thermostat Settings
Before troubleshooting other components, verify your thermostat is set correctly by checking that it’s on the desired mode and the temperature is appropriately adjusted. Confirm the thermostat is set to ‘heat’ during cold seasons or ‘cool’ when you need air conditioning. This might seem basic, but it’s a common oversight. Confirm the set temperature is higher than the current room temperature for heating or lower for cooling.
Next, examine the thermostat’s programmable settings. If you’ve got a programmable model, it may be running a schedule that doesn’t align with your current needs. Adjust or override the schedule temporarily to see if it affects the heat pump’s performance. Also, check the thermostat’s battery if it’s not hardwired. Weak batteries can cause erratic behavior, leading to incorrect signals sent to the heat pump.
Check Power Supply Connections
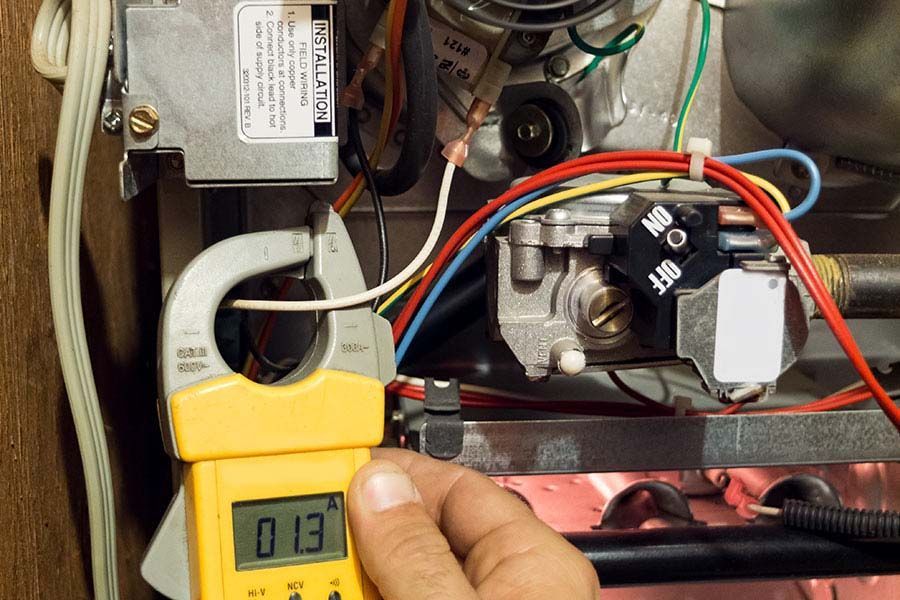
Ensure your heat pump’s power supply connections are secure and properly attached, as faulty connections can disrupt performance and lead to system malfunctions. Begin by turning off the power to guarantee safety—flip the circuit breaker or remove the fuse dedicated to the heat pump. Carefully inspect the external wiring for signs of wear, corrosion, or damage. Loose or frayed wires can cause intermittent power loss or complete failure and should be addressed promptly.
Next, verify that the terminal screws are tightly fastened. Use a screwdriver to confirm each screw is snug, but be cautious not to overtighten, which could damage the terminals. Check the condition of any associated connectors or plugs; they should fit securely without excessive force. If you detect any burnt or discolored parts, replace them immediately, as these are signs of overheating or electrical arcing.
Confirm the power supply voltage matches the heat pump’s requirements. Use a multimeter to measure the voltage at the connection points, confirming that it aligns with the manufacturer’s specifications. Maintaining proper power connections will enhance the system’s reliability, preventing issues that might inconvenience those relying on your assistance.
Examine Air Filters for Debris
Once you’ve confirmed the power supply is secure, check the air filters for debris. Clogged filters can restrict airflow and impair the heat pump’s efficiency. Begin by turning off the heat pump to guarantee safety. Locate the air filter compartment, typically found near the return air duct. Remove the filter carefully, ensuring you don’t dislodge any accumulated dust or debris.
Examine the filter closely. If it appears gray, dusty, or clogged, it’s time for cleaning or replacement. For reusable filters, gently vacuum or rinse them with water, ensuring you allow them to dry completely before reinserting. If the filter is disposable, replace it with a new one of the same size and type. Depending on usage and environmental factors, filters should generally be replaced every one to three months.
Maintaining clean filters is essential for ideal airflow and energy efficiency. Doing so helps prevent undue strain on the heat pump, prolonging its lifespan. By keeping the air filters clean, you’re enhancing the system’s performance and providing a healthier environment for the occupants. Your thoroughness in this task reflects your commitment to serving others effectively.
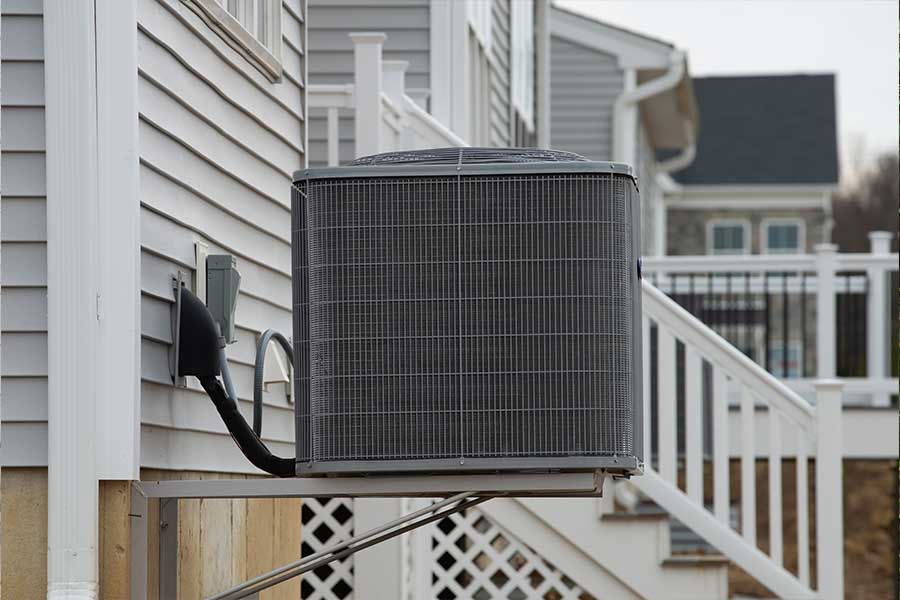
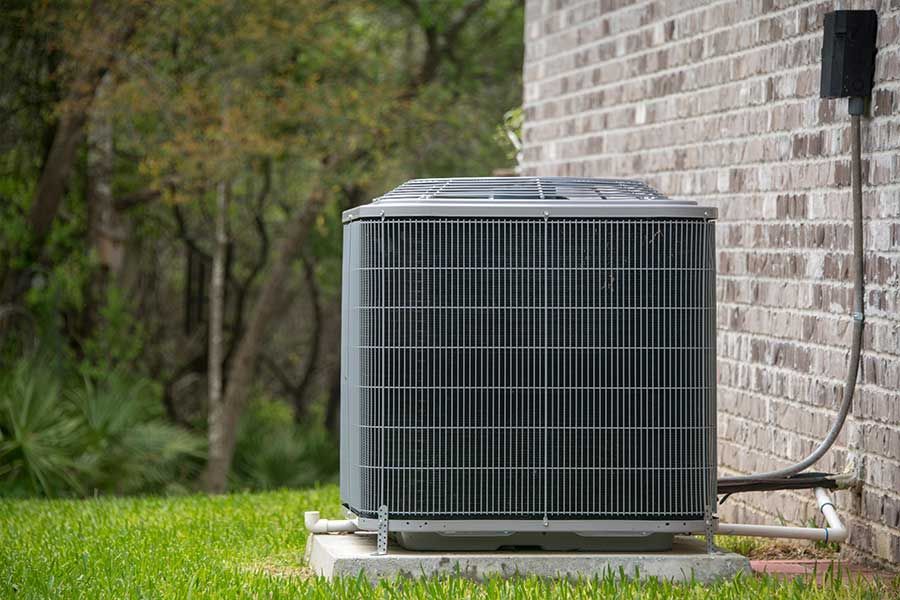
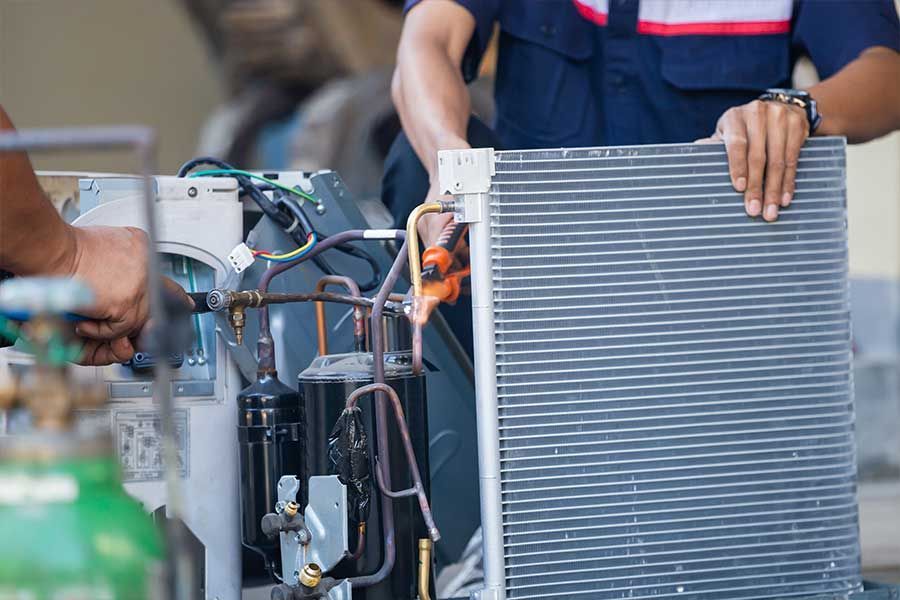
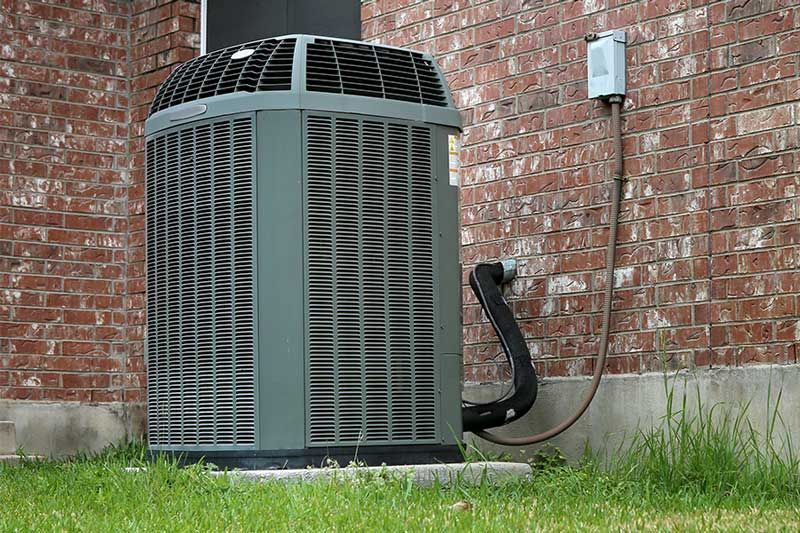
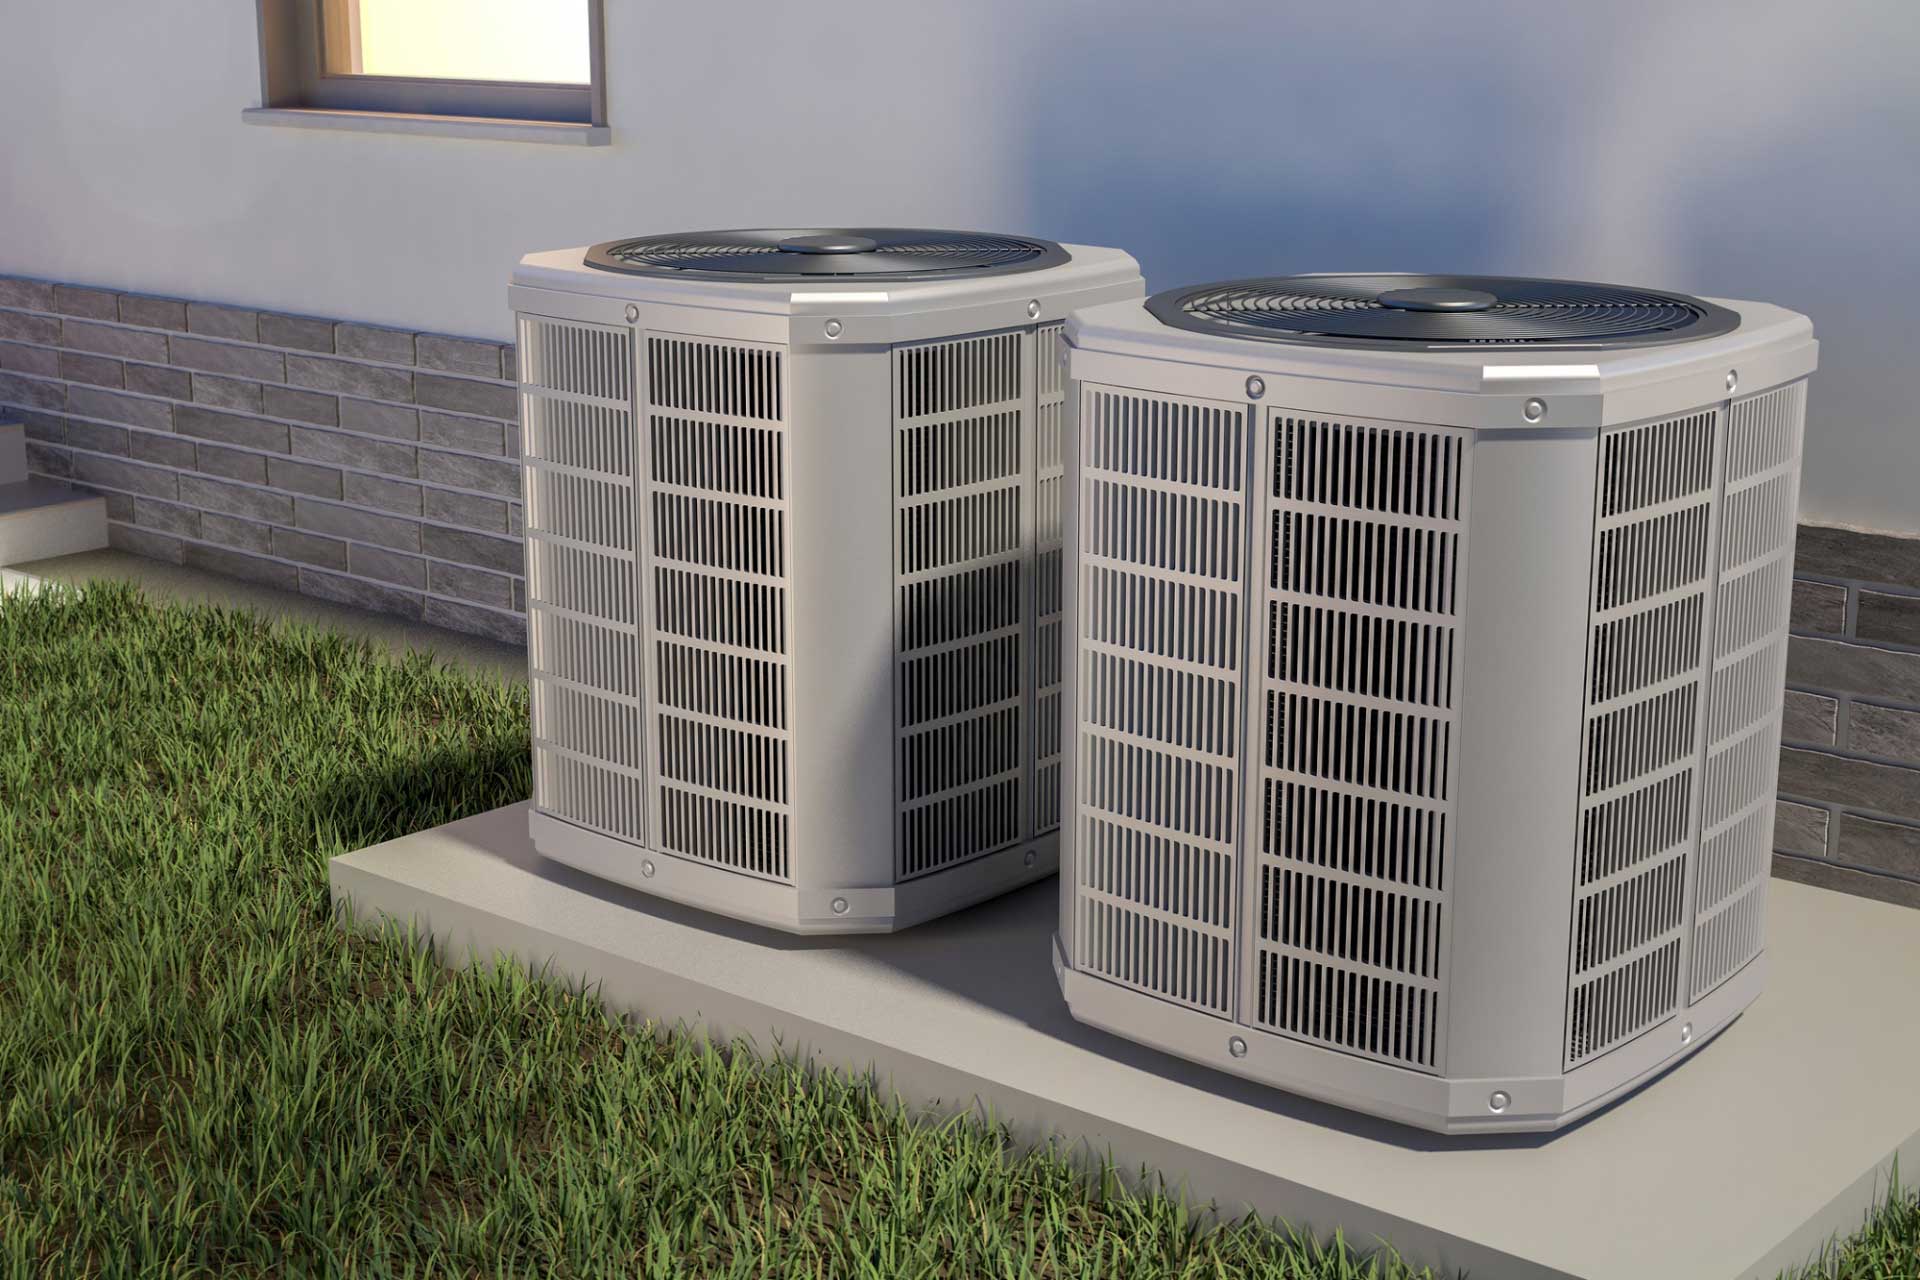
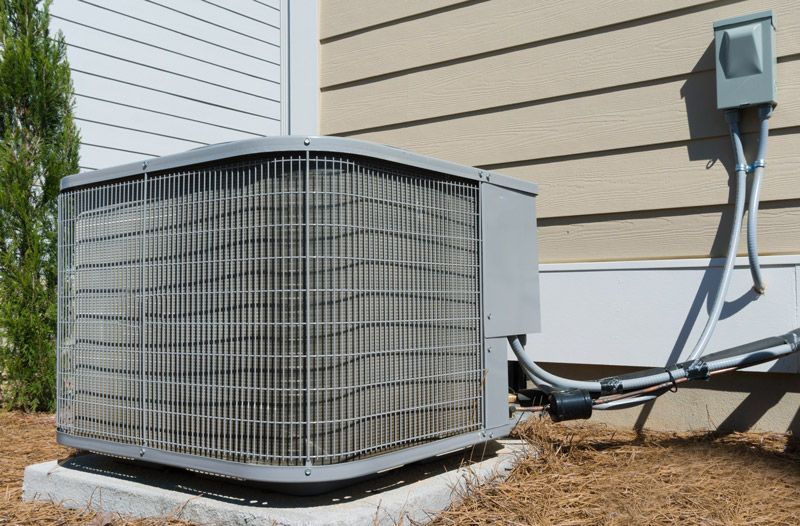
Assess Outdoor Unit Condition
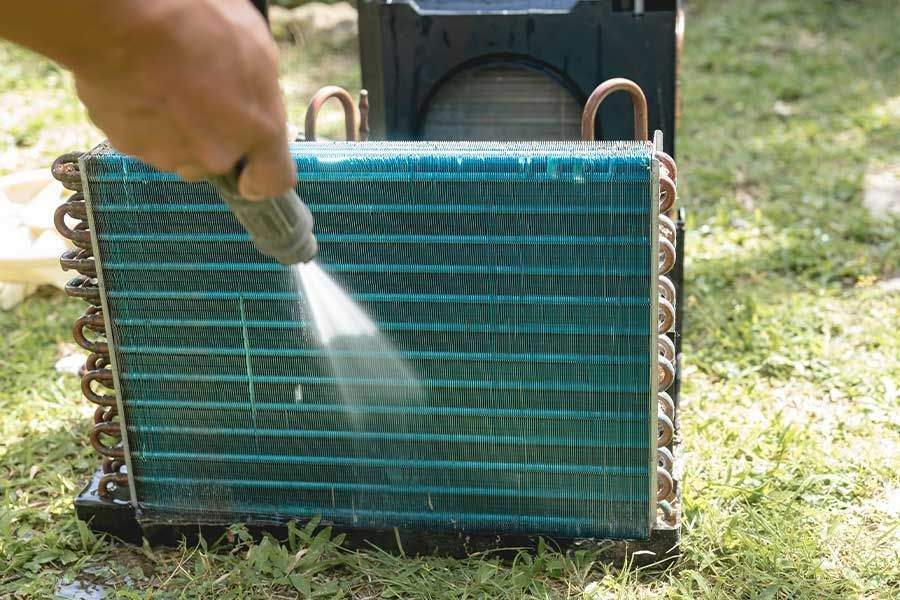
Inspecting the outdoor unit of your heat pump is essential for identifying any visible damage, debris accumulation, or obstruction that could hinder its performance. Start by turning off the power to the unit to guarantee safety. Examine the unit’s exterior for dents, rust, or physical damage that might affect its efficiency. Pay attention to the coil fins; they should be clean and straight. Bent fins can restrict airflow and reduce operational capability. You can use a fin comb to straighten them if necessary.
Next, clear any vegetation, leaves, or dirt surrounding the unit. A clearance of at least two feet around the unit guarantees ideal airflow and prevents unnecessary strain on the system. Inspect the fan blades for cracks or debris. A damaged fan can cause the unit to vibrate excessively or operate noisily. If you find any issues, it might be necessary to consult a professional for repair or replacement.
Review Refrigerant Levels
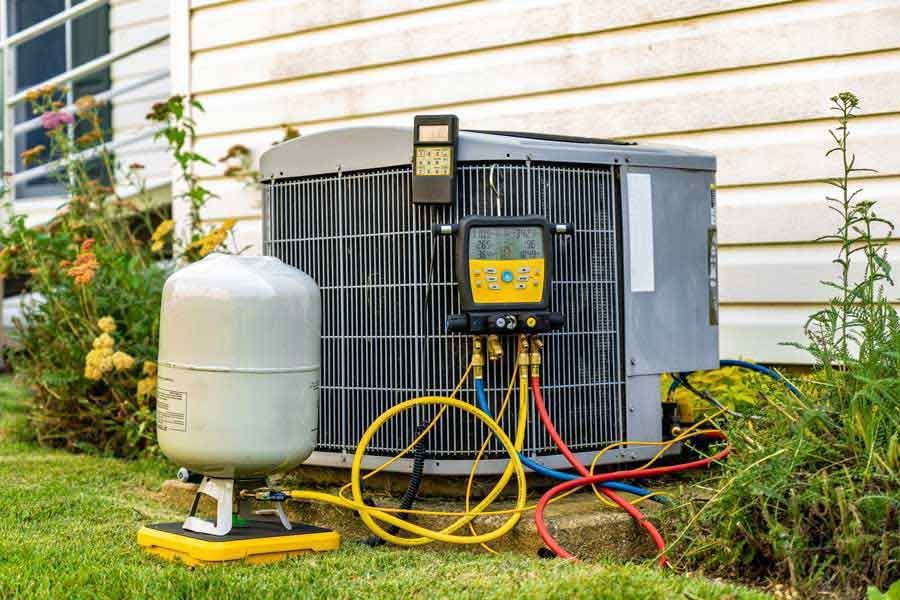
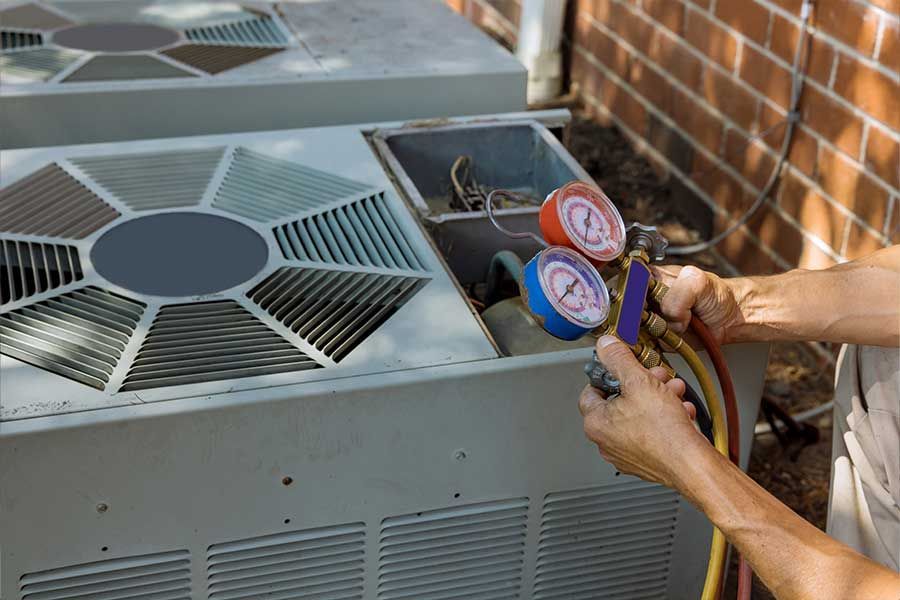
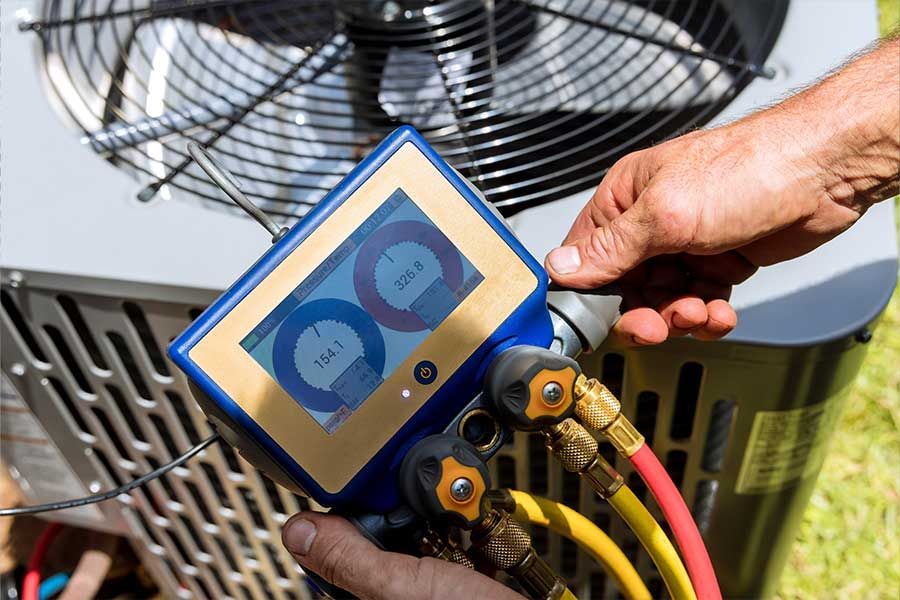
Regularly checking the refrigerant levels in your heat pump is essential to guarantee peak performance and prevent potential damage to the system. Low refrigerant levels can lead to inefficient heating or cooling, increased energy consumption, and potential compressor failure. Begin by turning off the heat pump and using a manifold gauge set to measure the pressure of the refrigerant. Connect the gauges to the service valves, ensuring a secure fit to avoid leaks. Compare the readings against the manufacturer’s specifications, typically listed on the unit’s nameplate or in the manual.
If the refrigerant is low, promptly addressing the issue is essential. A low level often indicates a leak, which a professional should repair. Adding refrigerant without fixing the underlying leak wastes resources and risks environmental harm. Once the leak is repaired, re-evaluate the levels and add refrigerant as necessary, ensuring you don’t overcharge the system. Overcharging can cause high pressure, leading to damage. By maintaining proper refrigerant levels, you extend your heat pump's lifespan and ensure it operates efficiently, ultimately serving the comfort needs of those who rely on it.
Listen for Unusual Noises
Listening to unusual noises emanating from your heat pump is essential for early detection of mechanical issues that could lead to operational failures. Begin by familiarizing yourself with the normal sounds your heat pump produces during regular operation. This baseline will enable you to identify deviations that may signify underlying problems.
Pay attention to rattling sounds, often indicating loose components or debris caught within the unit. Inspect fan blades and screws, ensuring they’re secure. Squealing or screeching noises might suggest a worn-out belt or motor bearings needing lubrication or replacement. Address these promptly to prevent further damage.
A buzzing noise can indicate electrical issues, such as faulty wiring or a failing capacitor. In this case, disconnect the power immediately and consult a professional to prevent hazards. Clicking sounds during start-up or shutdown might be normal, but persistent clicking could mean relay or control board issues, requiring expert evaluation.
Investigate Airflow Problems
To tackle airflow problems, start by checking if the air filters are clean and free from obstructions that could impede efficient operation. Dirty filters restrict airflow, reducing system efficiency and leading to uneven heating or cooling. Replace or clean filters regularly, depending on the manufacturer’s guidelines and your usage patterns. Next, inspect the vents and registers throughout the space. Verify they’re open and unobstructed by furniture or other items, promoting ideal air circulation.
Examine the ductwork for any visible leaks, disconnections, or blockages. Leaky ducts can cause significant air loss, compromising the heat pump's performance. Use duct tape or mastic sealant to seal minor leaks. Consider enlisting a professional with the right expertise to guarantee a thorough fix for extensive duct repairs.
Check the blower motor and fan for debris or mechanical issues inhibiting airflow. Dust accumulation can hamper the fan’s operation, so clean it carefully. If the motor shows signs of wear or malfunction, you may need to replace it to restore effective airflow.
Test the Reversing Valve
Verify the reversing valve, a critical component that allows the heat pump to switch between heating and cooling modes, is functioning correctly by checking for any signs of malfunction, such as unusual noises or difficulty in changing modes. Start by confirming the thermostat is set correctly for the desired mode. If the heat pump struggles to switch, listen for a distinct buzzing or hissing sound near the valve, indicating potential issues.
Next, locate the reversing valve, typically found along the refrigerant line, and inspect it visually for any signs of physical damage, corrosion, or oil leaks. These signs may suggest internal failure or improper sealing. Utilize a multimeter to test the solenoid coil for continuity; a reading outside the normal range (usually 15-30 ohms) indicates a defective coil needing replacement.
To further test, manually switch the heat pump between modes while observing the valve’s operation. The valve may be stuck or blocked if it fails to engage smoothly. In such cases, a professional technician should be contacted to assess the situation and perform necessary repairs to confirm the heat pump operates efficiently, providing comfort and service to those who depend on it.
Evaluate the Defrost Cycle Function
Verifying the defrost cycle functions correctly involves monitoring the heat pump’s ability to remove ice buildup from the outdoor coils, which is vital for maintaining efficiency and preventing damage. Begin by observing the heat pump during cold weather. If you notice significant ice accumulation that doesn’t melt, evaluating the defrost cycle is essential. Check the defrost control board, as it dictates when the cycle initiates. It should engage when the coil temperature sensor detects freezing conditions.
Next, confirm that the sensor is correctly attached to the coil and is not damaged. A faulty sensor can prevent the defrost cycle from activating. Listen for the distinct sound of the reversing valve switching, which indicates the heat pump is shifting to defrost mode. The valve or its solenoid might be at fault if you don't hear this.
Additionally, inspect the outdoor fan. It should stop during defrosting to allow the coils to warm up effectively. If the fan continues running, it might be due to a malfunctioning relay or control board. Address these components promptly to confirm your heat pump operates efficiently and serves others by maintaining comfortable temperatures.
Consult the User Manual
After inspecting the defrost cycle components, refer to the user manual for specific troubleshooting steps and technical specifications for your heat pump model. The user manual is an invaluable resource that provides detailed information tailored to your specific system. By consulting it, you guarantee all actions align with the manufacturer’s guidelines, maintaining the system’s integrity and warranty. Begin by locating the troubleshooting section, which often lists common issues and their solutions.
A well-organized manual will include:
- Wiring Diagrams: These are essential for understanding electrical connections and guaranteeing everything is securely and correctly connected.
- Error Codes: Familiarize yourself with error codes that may display on your system, indicating specific malfunctions or maintenance needs.
- Component Specifications: Details about various parts, such as compressors, fans, and coils, help determine whether components are functioning within the recommended parameters.
Don’t overlook the importance of following the user manual’s instructions precisely. This attention to detail not only aids in resolving current issues but also prevents potential future problems. Your commitment to serving others is reflected in your diligence, guaranteeing the heat pump operates efficiently and reliably for everyone relying on its performance.
Conclusion
You’re just a step away from becoming the ultimate heat pump guru! By mastering these troubleshooting techniques—inspecting thermostats, checking power connections, cleaning air filters, evaluating outdoor units, monitoring refrigerant levels, investigating airflow problems, testing reversing valves, and reviewing defrost cycles—you’ll conquer any heat pump challenge with unparalleled expertise. So, grab your tools, plunge into the depths of your user manual, and release your inner HVAC wizard. Your heat pump will thank you for its flawless performance!
Furnace Operation FAQs
How Can I Improve the Energy Efficiency of My Heat Pump?
Verify your heat pump’s airflow isn’t obstructed by debris. Regularly clean or replace filters to maintain peak performance. Schedule professional maintenance checks to fine-tune components and inspect ducts for leaks, maximizing efficiency and lifespan.
What Maintenance Schedule Should I Follow for Optimal Heat Pump Performance?
Think of your heat pump as a well-oiled machine. Schedule biannual professional inspections, replace filters every 1-3 months, clean coils annually, and check refrigerant levels regularly. This guarantees efficiency and reliability, serving others with consistent comfort.
Are there signs that indicate that my heat pump needs replacement soon?
You might notice reduced efficiency, frequent repairs, unusual noises, or inconsistent temperatures. Check for increasing energy bills or the unit’s age surpassing 15 years, signaling it’s time to contemplate a heat pump replacement.
How Do I Choose the Right Size Heat Pump for My Home?
To choose the right size heat pump, calculate your home’s square footage, determine your climate zone, and consult a professional for accurate load calculations. Prioritize energy efficiency and guarantee it aligns with your household’s heating and cooling needs.
What Should I Do if My Heat Pump Is Leaking Water?
Check the condensate drain for clogs, making sure it’s clear. Inspect the drain pan for cracks or damage. If the issue persists, schedule maintenance with a professional to prevent further complications and guarantee peak performance.